Success-Plan Services
2 min read
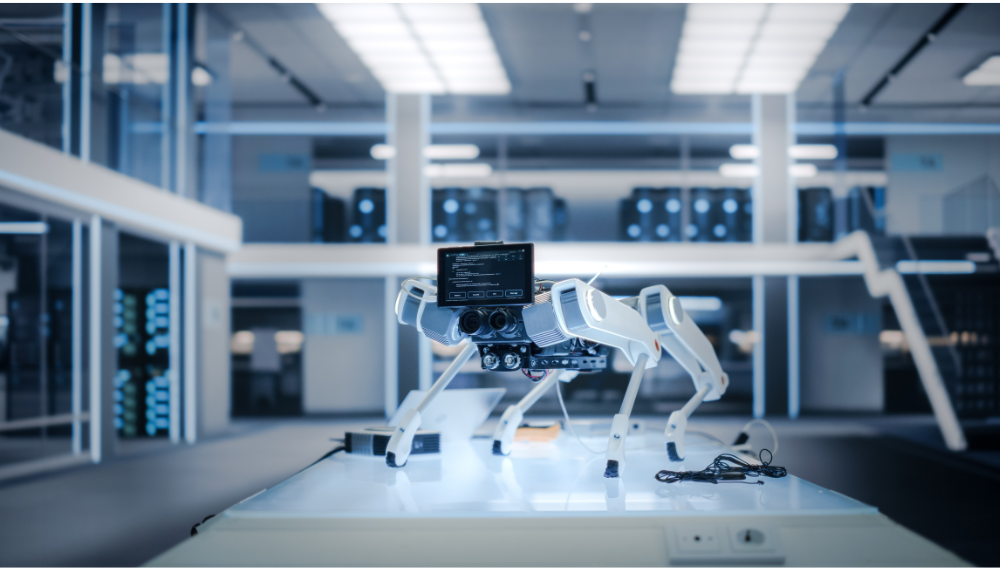
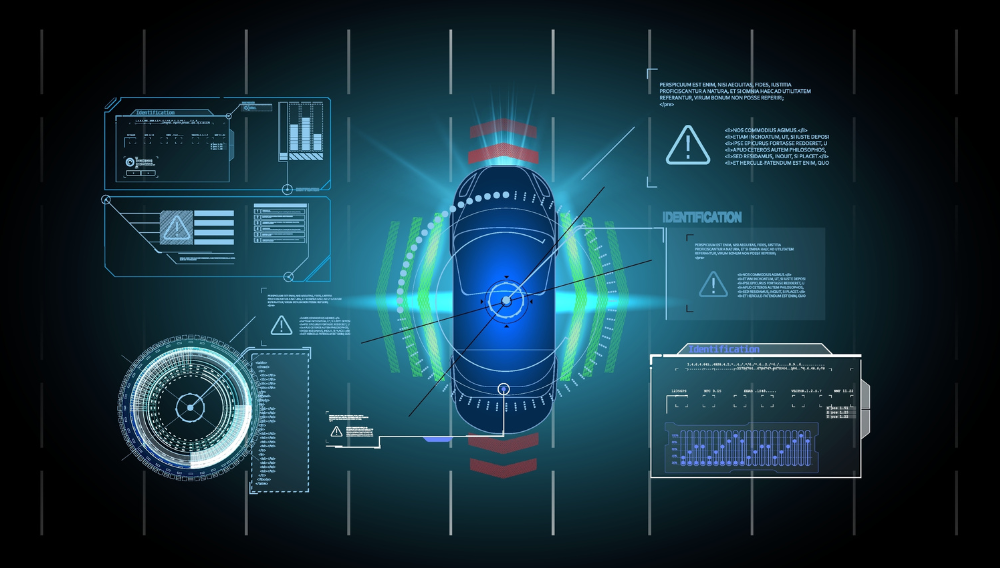
The New Era of AI Integration: Combining Physical Intelligence with Data-Centric Architecture
Today, physical intelligence is transforming industries and redefining possibilities. What’s driving this transformation? Pioneering infrastructure...
Read more ⇢