 Success-Plan Services
Create a C++ Class which Includes Connext
Now that the build environment is set up, we can create our first class. Go to the C++ classes/ Unreal Shapes folder in the content browser. Right click and select New C++ Class.
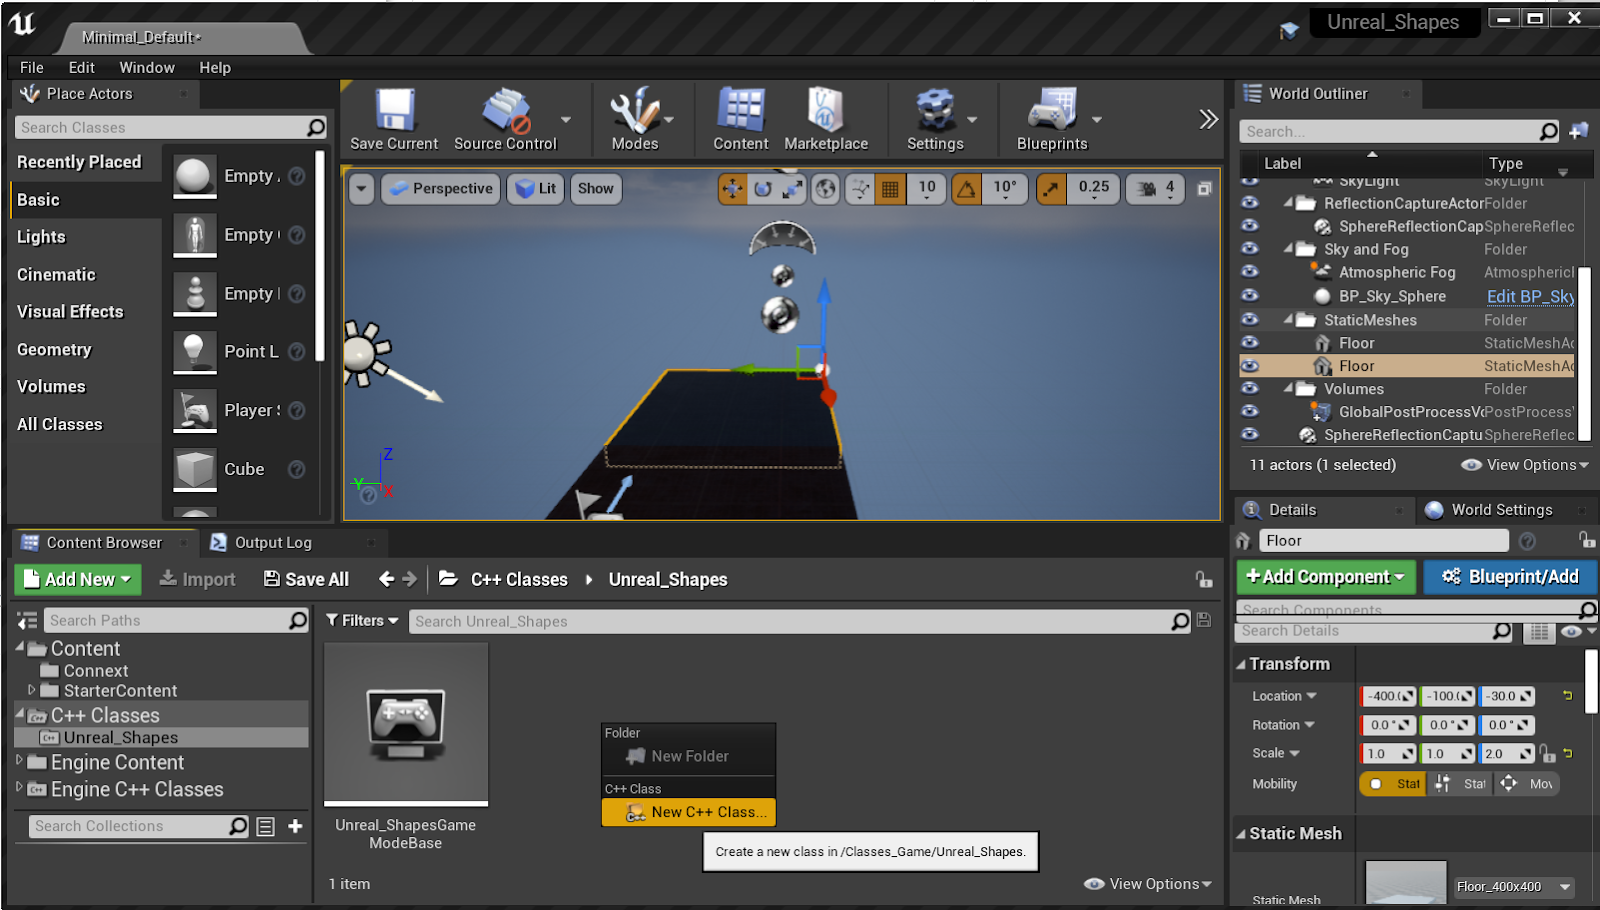
This will bring up the menu to select the type of class. For this example, we select Pawn.

Give it a name. In this example, we have called it ShapeSub for Shape Subscriber as we will start with subscribing to shapes.
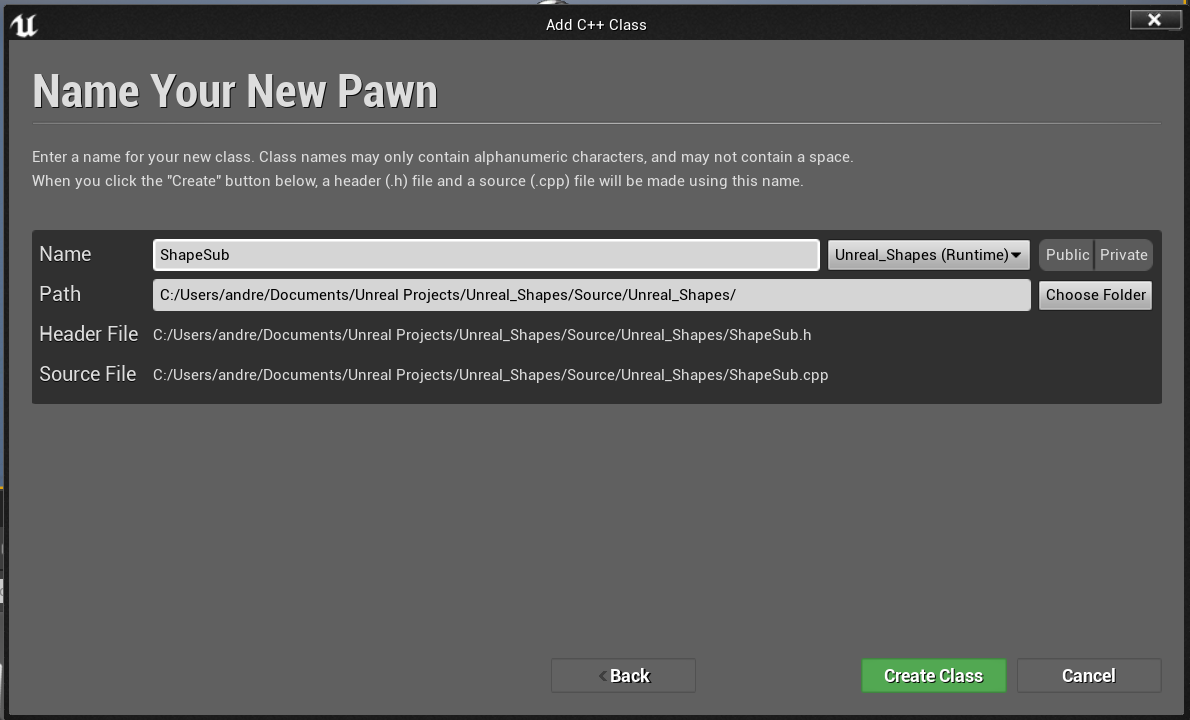
This will bring up Visual Studio. As you can see, two new files have been created: ShapeSub.h and ShapeSub.cpp.
Shape.h needs to include the DDS header file and some pragmas. RTI Connext supports multiple platforms. Not all the preprocessor directives which are checked in the header files are defined for all platforms, and therefore the warnings need to be disabled. Adding the following at the beginning of the file will do this.
#pragma warning(disable:4668)
#pragma warning(disable:4530)
#include <dds/dds.hpp>
Next, we will add the needed variables to ShapeSub.h. The first one is to store the mesh component as they can be cube, sphere, or cones to match up with square, circle, and triangle. In addition, we also have configuration variables for the topic name and domain ID. Those can be configured on a per instance. Topic Name and Domain ID are initialized to a default but can be overwritten.
public:
/* Mesh component */
UPROPERTY(VisibleAnywhere,BlueprintReadWrite, Category = "MeshComponent")
UStaticMeshComponent* StaticMesh;


/* Topic Name */
UPROPERTY(EditAnywhere, BlueprintReadWrite, Category = "Connext")
FString TopicName = FString("Square");


/* Domain ID */
UPROPERTY(EditAnywhere, BlueprintReadWrite, Category = "Connext")
int32 DomainID = 0;
We also need some private variables: The data reader which is shared across different methods and some configuration, the location of the XML file and the type name. The XML configuration file location may have to be changed when packaging the project.
private:
  FString QOS_URL = FString("Connext/Unreal_Shapes.xml");
  FString TYPE_NAME = FString("ShapeType");
  dds::sub::DataReader<dds::core::xtypes::DynamicData> reader =
                   dds::core::null;
With all the configuration elements defined in the header file, we can go ahead and implement the Shape subscriber class (ShapeSub.cpp). In addition to the dds.hpp which we already included in the ShapesSub.h header file, we also need to include a few more header files for loading the XML file and QoS definitions.
#include <rti/core/rticore.hpp>
#include <rti/core/QosProviderParams.hpp>
In the constructor AShapeSub() we can set the mesh component and set it as root component:
StaticMesh = CreateDefaultSubobject<UStaticMeshComponent>
    (TEXT("CustomStaticMesh"));
RootComponent = StaticMesh;
AShapeSub::BeginPlay is where we are going to initialize the DDS entities. The steps are:
- Read the configuration file
- Set the dynamic type
- Create a participant
- Get the default (implicit) subscriber since we don’t need a custom subscriber for this example
- Create the topic
- Create the data reader
If a different type is used, the type name would be the only thing to change in this code example.
/* Construct the fully qualified name for the configuration file (XML) location */
FString xmlFile = FPaths::Combine(FPaths::ProjectContentDir(), QOS_URL);
/* Read the configuration file and set the defaults*/
rti::core::QosProviderParams provider_name;
provider_name.url_profile({ TCHAR_TO_UTF8(*xmlFile) });
dds::core::QosProvider::Default().extensions().default_provider_params(provider_name);

/* Initialize the dynamic data type */
const dds::core::xtypes::DynamicType& myType =
    dds::core::QosProvider::Default().extensions().type(TCHAR_TO_UTF8(*TYPE_NAME));

/* Create a domain participant */
dds::domain::DomainParticipant participant = dds::domain::DomainParticipant(DomainID);

/* Get a reference to the implicit subscriber */
dds::sub::Subscriber subscriber = rti::sub::implicit_subscriber(participant);

/* Create the topic with the configured name for the participant and dynamic type */
auto topic = dds::topic::Topic<dds::core::xtypes::DynamicData>
    (participant, TCHAR_TO_UTF8(*TopicName), myType);

/* Create the data reader */
reader = dds::sub::DataReader<dds::core::xtypes::DynamicData>(subscriber, topic);
Now that the entities are created, we can go ahead and read data in the AShapeSub::Tick function which is called on each frame. We use the take() function to remove all the elements from the receive queue. The take() function will return a sequence of elements which means it could be zero, one, or multiple events in the queue. Given that it is called every frame, we probably will not have too many elements in one read.
The example will take all elements from the reader queue and process each of them. The location will be set based on the X and Y element in the received sample. Shape is a two-dimensional application and therefore the shape type only has two dimensions in the data type (X and Y). Unreal Engine is three-dimensional. For the shape to nicely bounce around, we use the vertical and horizontal axes and set the depth to zero. To achieve this, the Shapes X value maps to the Y axis in Unreal Engine, and the Y value maps to the Z axis in Unreal Engine. Here is the code to read and process valid samples. Since we are using dynamic data types, the field is being accessed by its name. If you use a different data type, this is one of the changes that would be needed.
/* Take all the samples from the queue */
rti::sub::LoanedSamples<dds::core::xtypes::DynamicData>
    samples = reader.take();


/* Process each sample which is valid */
for (const auto& sample : samples)
{
   if (sample->info().valid())
   {
      /* Read the values we are interested (X and Y) from
         the dynamic data */
      int32 x = sample->data().value<int32>("x");
      int32 y = sample->data().value<int32>("y");
      /* Set the location. We want the shape to move
        horizontal and  vertical */
      FVector Location(0, x, y);
      SetActorLocation(Location);
   }
}
You will notice that the cube is moving differently than the square in the Shapes application. The reason is that the origin (0,0) in the Shapes application is on the top right whereas the origin in Unreal is on the bottom left. We need to transform the Shapes original x and y values. As mentioned above, Shapes uses about a range from 0 to 250 so we can just subtract the values from 250 by changing the Location vector to:
FVector Location(0, 250-x, 250-y);
Now it should move in sync with the Shapes application.