 Success-Plan Services
Create an Unreal Engine Project
The first step is to create an Unreal Engine project. When you create the project, select a blank game project. In the project settings, change blueprint to C++ as we will create C++ classes. Also make sure that “With Starter Content” is selected. Give the project a name (e.g. Unreal_Shapes) and let it create the project. This process will create the project in the Unreal Engine editor and will also create a Visual Studio project. For this example, we use the project name Unreal_Shapes.
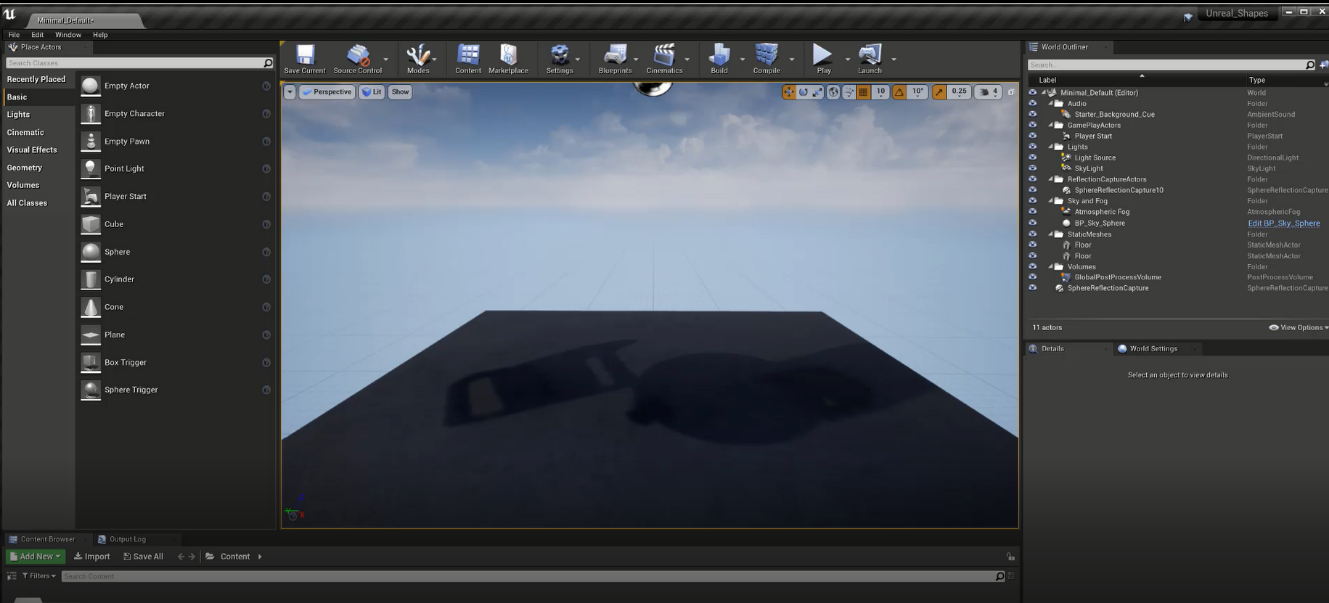
Once the project is created, you can delete the chairs, tables, and objects placed on the table as we do not need those. What we need is the floor and lighting. Your project will look like this:
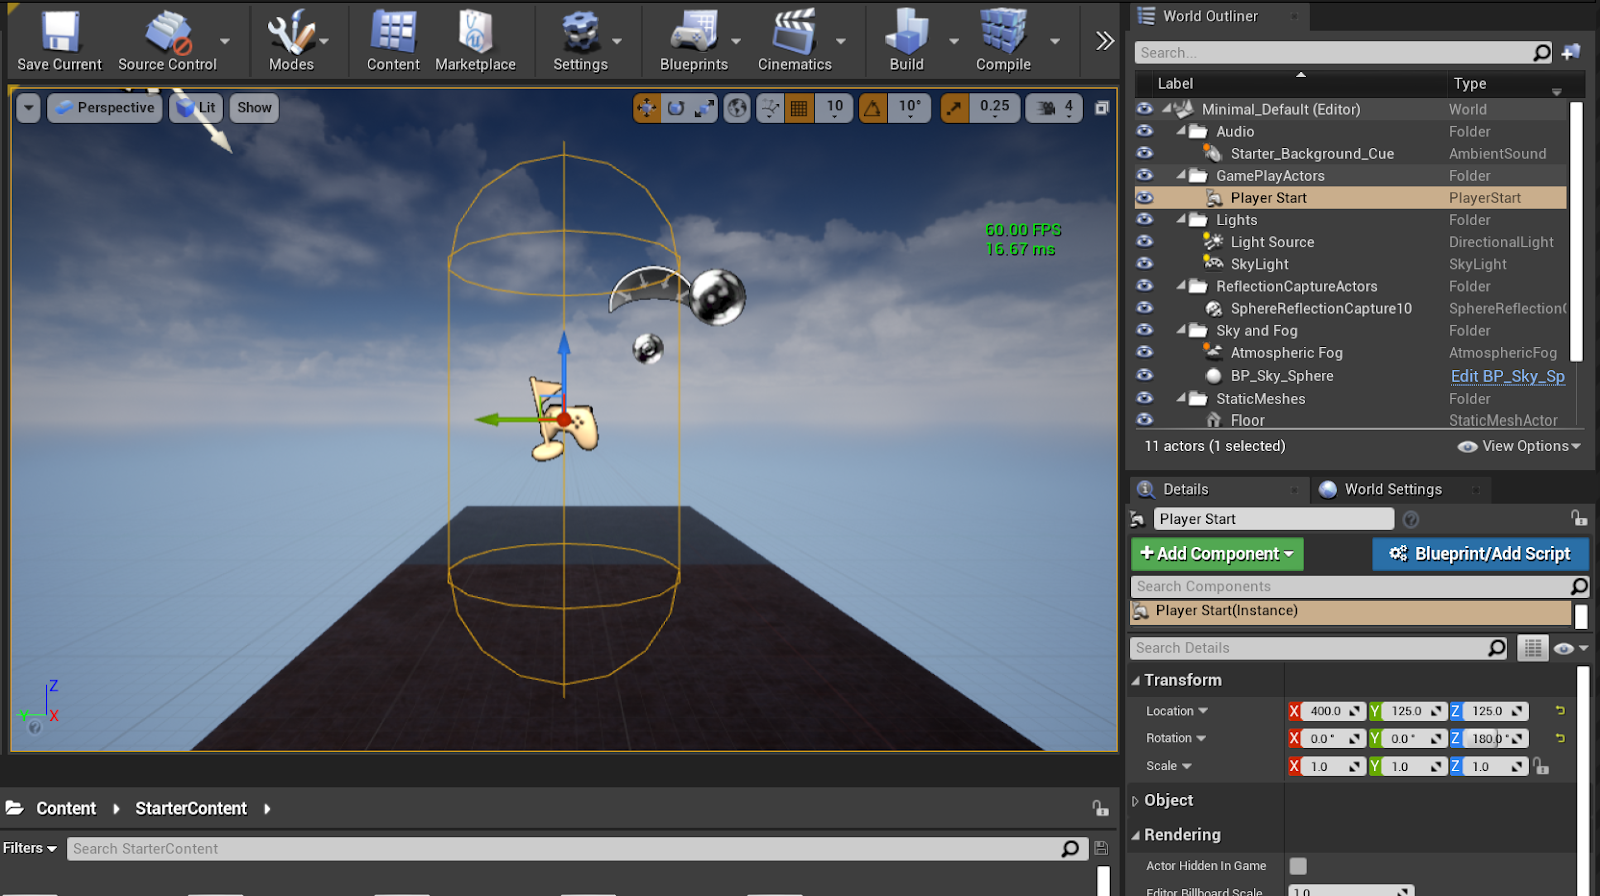
Next change the floor and player start position so we have it aligned with the Shapes application. The Shapes application uses a range of about 0 to 250 so we want to make sure that this fits the view of our area. Also the floor needs to be lowered so the shapes will not collide with the floor. We don’t really need the floor but it is a nice reference to have.
Change the player start to x = 400, Y = 125, Z = 125 so it is in the middle of our area and enough back so we have a nice view. It should be set as follows:
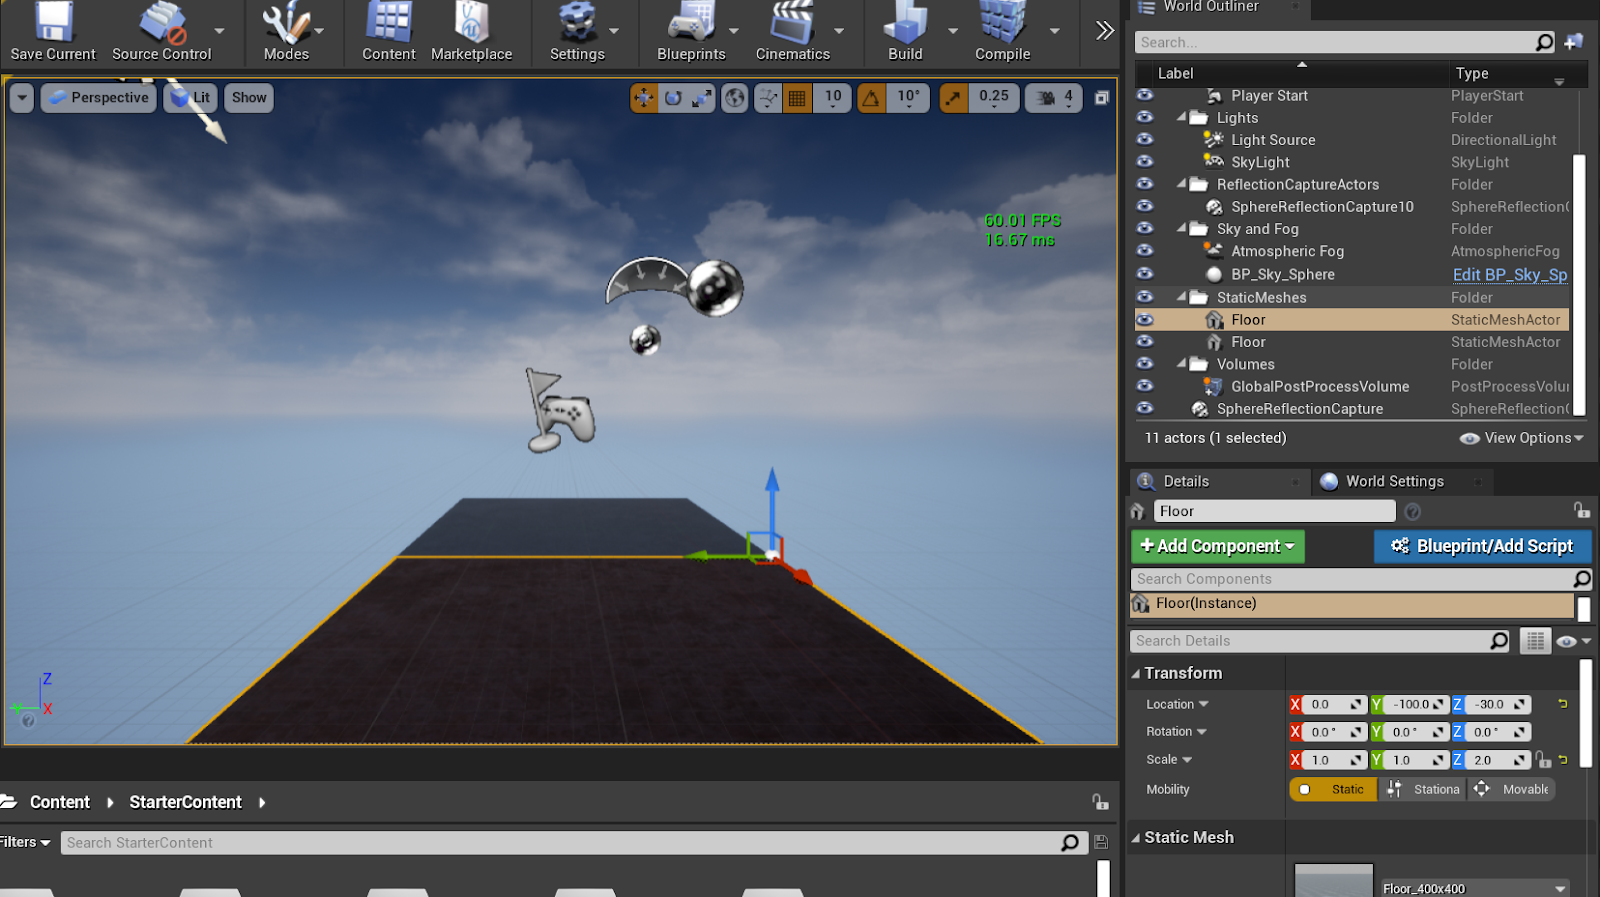
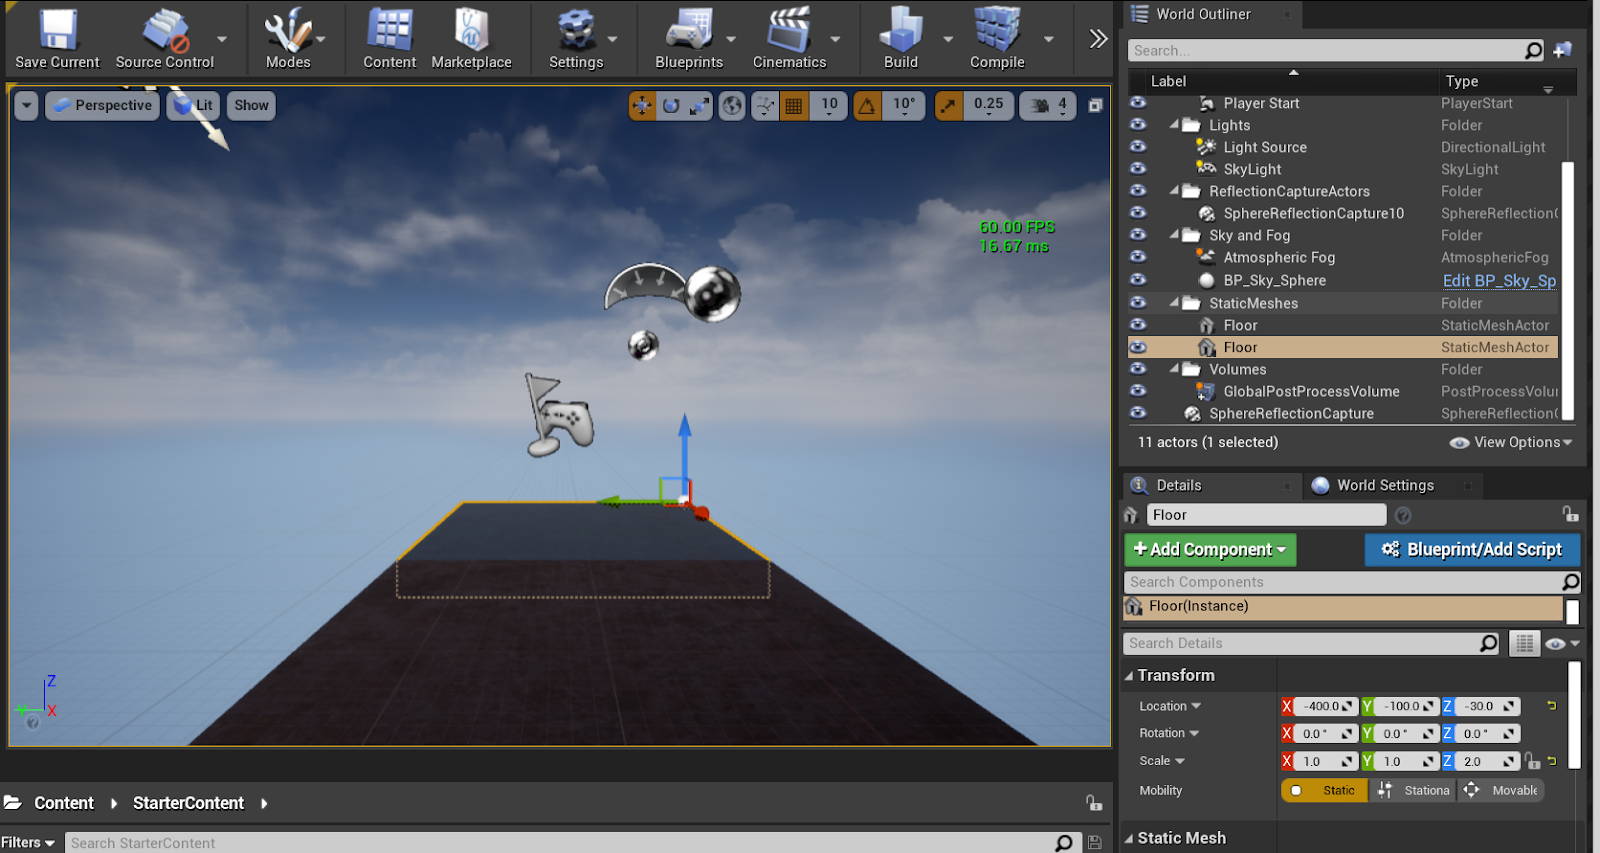
Change the floor to have Y = -100 and Z = -30 as seen below:
Make sure you save the project.